This coloring technique has been one of my favorites since I was a child. The way it works is that the wax/oil and water don’t mix so when you go over the crayon with your watercolor, you’ll still be able to see the design you colored with the crayon.
You can experiment with different crayon colors but my favorite is white. I’ve also used watercolor pencils but you can use any watercolor you like.
The coloring page is from Color My Moods Garden Mandalas available on Amazon http://amzn.to/1VG5rms or Gumroad: https://gum.co/wrBlN.
For this demo, I tried coloring straight from the coloring book but I made sure that I had couple of cardstock underneath to prevent water from seeping through the next page. It can work but if you’re able to print on watercolor paper, that would be best.
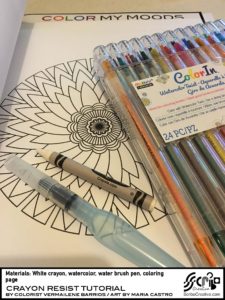
Materials:
Coloring page
White crayon
Watercolor or watercolor pencils
Watercolor brush
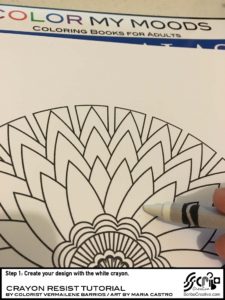
Step 1: Create your design with the white crayon. Remember, this would “resist” the watercolor and the area will remain white.
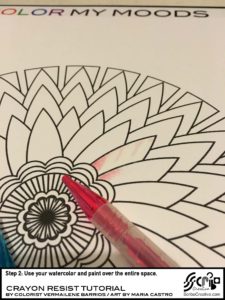
Step 2: Use your watercolor and paint over the entire space.
In my case, I used watercolor pencils to color the area (you will feel the wax from the crayon and you can color around it). Wet with the brush pen.
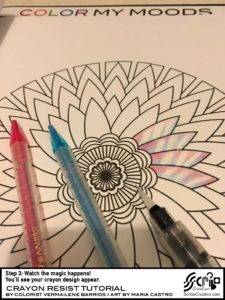
Step 3: Watch the magic happens! You’ll see your crayon design appear.
You only need very little water. It’s best to start with just a damp brush versus risk soaking your page.
Have fun!
Products used in this tutorial:

Well, I don’t own any water color anything. I have water-based ink markers.
I remember using crayons to color my Easter eggs. Then, using fire/heat protection, heating the wax on the egg. AND, suddenly the colors are blended and smooth and bright. My children liked that one.
I remember doing this very thing at school!!!!
Using any colors you like, color your “page”, every inch, except where you want it to be black. Then color over all the page using black. Then using a tool that can scratch without scraping, or one that can be dragged softly, “scratch” a design in the black. It ends up looking a bit like a stained glass window. I remember using my name as the design.
Fun memories. I used to do the technique you described with pastels. Love it!